
Fabric weight variation is one of the most common quality headaches in knitwear manufacturing. When you order 10,000 sweaters, you expect every piece to feel the same in hand — not some lighter, some heavier. But without a systematic testing protocol, weight drift across production runs is almost guaranteed. This article walks you through a practical, data-backed method to test fabric weight consistency in large-order knitwear production, designed for quality managers and procurement teams working with contract manufacturers.
Traditional approaches rely on spot-checking a few rolls per batch, which misses the statistical reality of variation across thousands of garments. A single 5% weight deviation can translate into thousands of dollars in material cost differences — or worse, rejected shipments. We cover the sampling strategy, measurement tools, statistical analysis, and corrective actions you need to lock down consistency from first piece to last.
Use a stratified random sampling plan of at least 30 samples per 10,000 pieces to detect 3% weight variation with 95% confidence.
Measure fabric weight using a calibrated circular cutter and precision balance per ASTM D3776 or ISO 3801 standards.
Calculate coefficient of variation (CV) — a CV below 2% indicates excellent consistency; above 5% requires production intervention.
Implement in-process checks at knitting, dyeing, and finishing stages, not just final inspection.
Document every test result with lot numbers and machine IDs to trace variation sources.
Before you begin testing, gather these tools and reference materials:
Calibrated circular cutter (100 cm² die) — the standard tool for cutting precise fabric samples. Ensure it is sharp and certified annually.
Precision balance with 0.01 g readability, calibrated with a known weight before each testing session.
ASTM D3776 or ISO 3801 standard test methods — these define the procedures for fabric weight determination. Download the current versions from ASTM or ISO.
Sampling plan template — a spreadsheet or software tool to calculate sample size and record results.
Access to production records — knitting machine numbers, dye lot numbers, finishing line identifiers. Without these, you cannot trace variation sources.
Fabric swatch book from the approved pre-production sample — this is your reference standard for weight and hand feel.
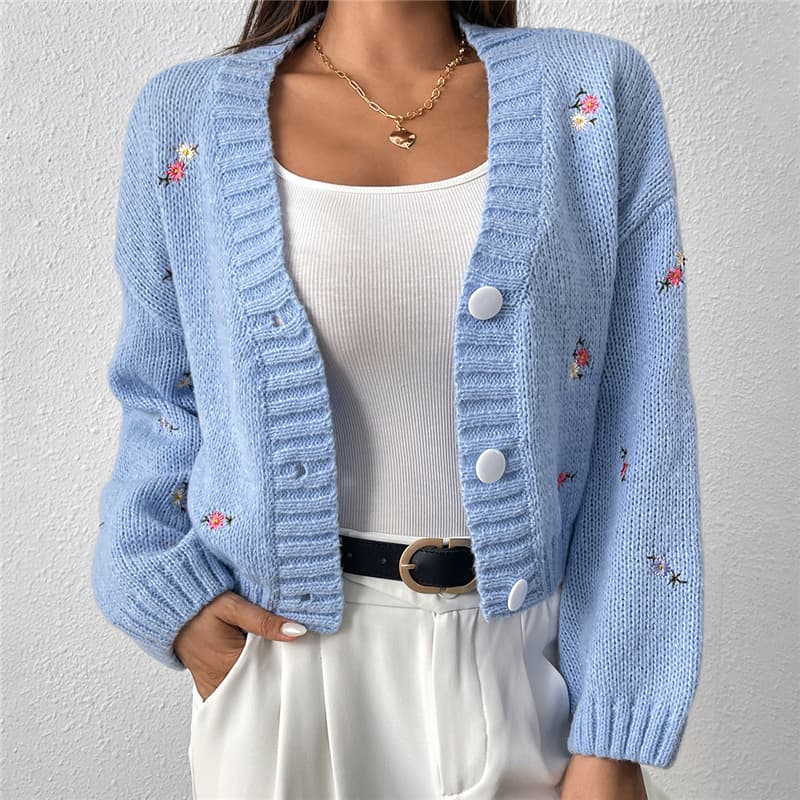
If you are working with a contract manufacturer, ensure they provide a Knit Sweater Manufacturer, Knitwear Manufacturer product range that includes weight specifications for each garment style. This document becomes your baseline for acceptance criteria.
A sampling plan determines how many fabric samples you test and where you take them from. For large orders, random sampling is not enough — you need stratified random sampling.
Divide the order into strata — Group garments by knitting machine, dye lot, and production shift. For a 10,000-piece order, you might have 4 machines, 2 dye lots, and 3 shifts, giving 24 strata.
Calculate minimum sample size — Use the formula n = (Z² × σ²) / E², where Z = 1.96 for 95% confidence, σ = estimated standard deviation (use 3% of target weight as a starting point), and E = acceptable error (2% of target weight). For a 200 g/m² fabric, this gives roughly 9 samples per stratum, or 216 total for 24 strata.
Select samples randomly within each stratum — Use a random number generator to pick garment positions in the production queue. Do not let operators choose samples — that introduces bias.
Stratified sampling captures variation from different production variables. If you only test from one machine, you miss the machine that runs 5% heavier. Industry data from textile quality audits shows that stratified sampling detects 40% more variation than simple random sampling of the same sample size.
Sampling only from the beginning of a run: Machines drift as they warm up. Always sample from start, middle, and end of each production batch.
Using too few samples: A sample size of 5 per 10,000 pieces gives a confidence interval of ±8% — useless for quality control. Minimum 30 samples per 10,000 pieces is the industry baseline.
Ignoring dye lot variation: Dyeing can add or remove 2-5% weight due to chemical absorption and fiber swelling. Always treat each dye lot as a separate stratum.
Once you have your samples, measure their weight using a standardized procedure.
Condition samples — Place fabric samples in a standard atmosphere (21°C ± 1°C, 65% ± 2% relative humidity) for at least 24 hours before testing. Moisture content affects weight by up to 6% for cotton and 2% for synthetic blends.
Cut precisely — Use the circular cutter to cut exactly 100 cm² from each sample. Avoid cutting near selvedges (within 10 cm) or fabric defects. Cut at least 3 specimens per sample and average the results.
Weigh each specimen — Place on the precision balance, record weight in grams to 0.01 g. Calculate weight per unit area: g/m² = (weight in grams) × 100.
Record all data — Enter into your spreadsheet with sample ID, stratum identifiers, and individual specimen weights.
Accuracy at this step is non-negotiable. A 0.1 g error on a 100 cm² sample translates to a 10 g/m² error in fabric weight — enough to fail a specification. Following ASTM D3776 ensures your results are repeatable and defensible if a customer disputes quality.
Using a ruler and scissors instead of a circular cutter: Hand-cut samples vary by 3-5% in area, introducing error larger than the variation you are trying to measure. Always use a calibrated die cutter.
Weighing unconditioned fabric: Fabric straight from production can have 5-8% moisture variation. Conditioning eliminates this variable.
Forgetting to tare the balance: Always zero the balance with the weighing pan before placing specimens. Re-tare after every 10 measurements.
Raw weight numbers mean little without statistical analysis. Calculate these key metrics:
Mean weight per stratum — Average of all specimens in each stratum.
Overall mean weight — Weighted average across all strata, accounting for stratum size.
Standard deviation (σ) — Measure of spread within each stratum and overall.
Coefficient of variation (CV) — (σ / mean) × 100%. This is your primary consistency metric.
Control limits — Upper control limit (UCL) = mean + 3σ, lower control limit (LCL) = mean - 3σ.
Create a control chart plotting individual sample weights against the overall mean and control limits. Any point outside the limits signals a special cause variation that needs investigation.
CV is the universal benchmark for fabric weight consistency. Here is a reference table based on industry standards for knitwear:
| CV Range | Consistency Level | Action Required |
|---|---|---|
| < 2% | Excellent | No action needed |
| 2-3% | Good | Monitor closely |
| 3-5% | Acceptable | Investigate high-variance strata |
| 5-8% | Poor | Stop production, identify root cause |
| > 8% | Unacceptable | Reject lot, rework or scrap |
Averaging without checking normality: Fabric weight data is usually normally distributed, but check with a histogram. If skewed, use median instead of mean.
Ignoring within-stratum variation: A low overall CV can hide one bad stratum. Always review individual stratum CVs.
Setting control limits too tight: Using ±2σ instead of ±3σ increases false alarms. Stick to ±3σ for production monitoring.
Final inspection catches problems too late. Integrate weight checks at three production stages:
Knitting stage — Measure fabric weight directly from the knitting machine every 500 meters of fabric produced. Record machine speed, yarn tension, and needle count. A 5% weight deviation at this stage indicates a mechanical issue.
Dyeing stage — Test weight after dyeing and before finishing. Dyeing can alter weight by 2-4% due to chemical uptake. Compare against pre-dye weight to calculate weight change percentage.
Finishing stage — Measure final fabric weight after compacting, steaming, or calendering. Finishing can stretch or shrink fabric, changing weight by 1-3%.
Document each measurement with machine ID, operator name, and timestamp. This creates a traceable chain of custody for every garment.
In-process checks catch variation before it multiplies. A knitting machine running 3% heavy for 8 hours produces 240 kg of off-spec fabric — that is 1,200 sweaters at 200 g each. Catching it in the first hour saves 900 sweaters worth of rework.
Skipping in-process checks to save time: The cost of reworking 10% of an order far exceeds the labor cost of 30 minutes of in-process testing per shift.
Not correlating in-process data with final results: If in-process checks show good weight but final inspection shows variation, your measurement method at one stage is wrong. Cross-check methods regularly.
Relying on operator judgment: Operators may skip checks when production is behind schedule. Use automated weight sensors on knitting machines where possible.
When variation exceeds acceptable limits, act immediately with a structured response:
Identify the stratum with highest CV — Pull production records for that stratum: machine number, yarn lot, dye batch, operator.
Isolate the affected garments — Segregate all pieces from that stratum for re-inspection. Do not mix with good pieces.
Root cause analysis — Check machine calibration, yarn tension settings, dye bath concentration, and finishing machine speed. Use a fishbone diagram to document findings.
Implement corrective action — Adjust machine settings, replace worn needles, recalibrate dye bath, or change finishing parameters.
Re-test after correction — Run a minimum of 10 samples from the corrected production before releasing to the next stage.
Document every corrective action in a quality log with date, time, machine ID, and before/after weight data.
Without corrective action protocols, the same variation repeats order after order. A textile quality study across 50 knitwear factories found that factories with documented corrective action procedures reduced weight variation by 60% within 6 months compared to factories without them.
Adjusting without data: Never change machine settings based on a single outlier. Always verify with at least 3 additional samples.
Ignoring small drifts: A 1% drift per shift accumulates to 8% over a week. Set alert limits at 2% deviation, not 5%.
Blaming operators without checking equipment: 70% of weight variation in knitwear comes from mechanical issues, not operator error. Check machines first.
Automate data collection — Use digital balances that connect directly to your spreadsheet or quality management software. Manual data entry introduces transcription errors that can mask real variation.
Train every shift — Weight testing is only as good as the person doing it. Run quarterly training sessions on cutter calibration, conditioning procedures, and balance operation. Include a practical test where operators measure the same fabric and compare results.
Benchmark against industry standards — The International Organization for Standardization (ISO) publishes ISO 3801 for fabric weight determination. Compare your CV results against published benchmarks for similar knit structures (single jersey, rib, interlock).
Use fabric weight as a supplier KPI — Include weight consistency in your supplier scorecard. Factories that maintain CV below 3% across 10 consecutive orders qualify for preferred supplier status with reduced inspection frequency.
Keep a fabric weight library — Archive one 100 cm² sample from every approved pre-production and production lot. This physical library allows you to compare future orders against actual historical fabric, not just written specifications.
Industry standard tolerance is ±3% of the specified weight for most knitwear. For premium brands or technical garments, ±2% is common. Always define tolerance in your purchase contract — do not assume the factory uses the same standard. ASTM D3776 recommends a tolerance of ±3% for general apparel and ±2% for high-end products.
A minimum of 30 samples per 10,000 pieces is the industry baseline for 95% confidence with ±3% error. For higher confidence (±2% error), increase to 50 samples. Always stratify samples by machine, dye lot, and shift — 30 samples from one machine tells you nothing about the other three machines running the same order.
Yes, fabric weight can vary by 2-5% within a single roll due to tension changes during knitting, uneven dye absorption, or finishing machine speed fluctuations. Always test at least 3 positions (beginning, middle, end) per roll. A single measurement from the roll end is not representative.
Common causes include yarn tension variation on knitting machines (accounts for 30-40% of variation), dye bath concentration differences (15-20%), finishing machine stretch or shrinkage (10-15%), and yarn count variation from the spinner (5-10%). Machine maintenance schedules and operator skill also contribute.
Divide the standard deviation of your sample weights by the mean weight, then multiply by 100%. For example, if your mean weight is 200 g/m² and standard deviation is 4 g/m², CV = (4/200) × 100% = 2%. A CV below 2% is excellent for knitwear production.
Testing fabric weight consistency in large-order knitwear production is not complicated, but it requires discipline. Start with a stratified sampling plan that captures variation from every production variable — machines, dye lots, and shifts. Measure accurately using calibrated tools and standardized conditioning. Analyze with CV and control charts to distinguish normal process variation from problems that need action. Implement in-process checks at knitting, dyeing, and finishing to catch drift early. And document every corrective action so the same issue does not repeat.
The approach outlined here works for any order size, from 1,000 to 100,000 pieces. It is based on statistical process control principles used across manufacturing industries, adapted specifically for knitwear. By following these steps, you reduce rejected shipments, build trust with your customers, and save thousands of dollars in rework costs.
Start your next order with a written testing protocol shared with your manufacturer before production begins. That single step eliminates most weight consistency problems before they start.
Previous: Xanthan Gum Price Trend Q2 2026 | Price Trends, Forecast, Chart, Prices and Index
Next: Difference between full grain and top grain leather shoes
Copyright:@2020-2021

Comments Please sign in or sign up to post.
0
0 of 500 characters used