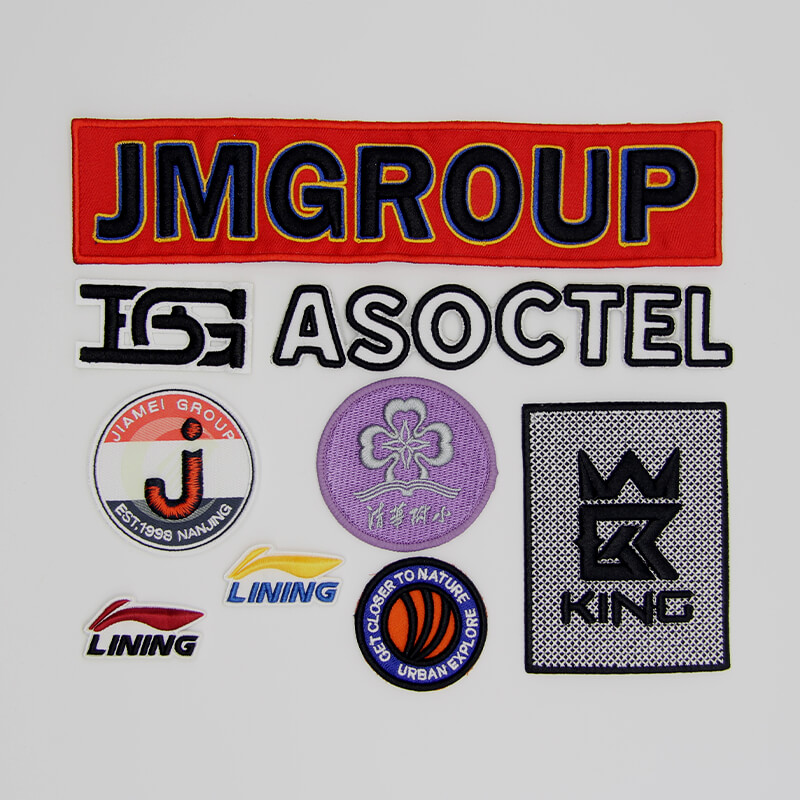
Embroidery patches add a unique touch to clothing, bags, and accessories, allowing you to express your individuality and creativity. Creating custom patches at home is a rewarding and enjoyable craft that anyone can master with the right tools and techniques. In this comprehensive guide, we'll walk you through the process of making your own custom embroidery patches from start to finish.

Before diving into the embroidery process, gather the following materials and tools:
Fabric: Choose a sturdy fabric such as cotton twill or denim for your patches.
Embroidery Hoop: This will hold your fabric taut while you work.
Embroidery Thread: Select thread colors that complement your design.
Embroidery Needles: Use sharp needles suitable for embroidery work.
Scissors: Sharp scissors are essential for cutting fabric and thread.
Backing Material: Opt for iron-on backing or adhesive fabric to attach your patches.
Start by sketching your patch design on paper or using design software. Keep the design simple and bold for best results. Once you have a finalized design, transfer it onto your fabric using a washable fabric marker or pencil.
There are several embroidery techniques you can use to bring your design to life:
Outline Stitch: Use the outline stitch to define the edges of your design.
Fill Stitch: Fill in larger areas of your design with the fill stitch, creating texture and depth.
Satin Stitch: The satin stitch is perfect for adding smooth, glossy details to your patches.
Experiment with different stitches and thread colors to achieve the desired effect.
Enhance your patches with additional details and texture:
Layering: Add dimension to your patches by layering different fabric pieces or stitching on embellishments.
Texture: Incorporate textured elements such as beads, sequins, or ribbons for added visual interest.
Once your embroidery is complete, trim any excess fabric and backing material. If using iron-on backing, carefully follow the instructions to adhere the backing to your patch securely.
The time it takes to make a custom embroidery heat transfer label depends on the complexity of the design and your skill level. Simple patches can be completed in a few hours, while more intricate designs may take longer.
While a regular sewing machine can be used for basic embroidery tasks, such as sewing patches onto garments, it may not offer the precision and versatility of a dedicated embroidery machine.
Cotton twill and denim are popular choices for embroidery patches due to their durability and stability. Choose a fabric with a tight weave to ensure clean, crisp embroidery.
Using a stabilizer can help prevent puckering and distortion of your embroidery stitches, especially when working with stretchy or delicate fabrics.
Yes, most custom embroidery patches are washable and can be ironed on a low setting. However, be sure to follow any care instructions specific to the materials used in your patches.
Draw inspiration from a variety of sources, including nature, pop culture, and personal interests. Browse online forums, social media platforms, and embroidery blogs for ideas and inspiration.
Creating custom embroidery patches is a fun and rewarding craft that allows you to showcase your creativity and personal style. With the right materials, tools, and techniques, you can bring your designs to life and embellish clothing accessories, and more with unique and eye-catching patches.
Previous: What sizes are available for Children Hawaiian Shirts?
Next: Where Can You Find Unique and Customizable Clothing Labels?
Copyright:@2020-2021
Comments Please sign in or sign up to post.
0
0 of 500 characters used