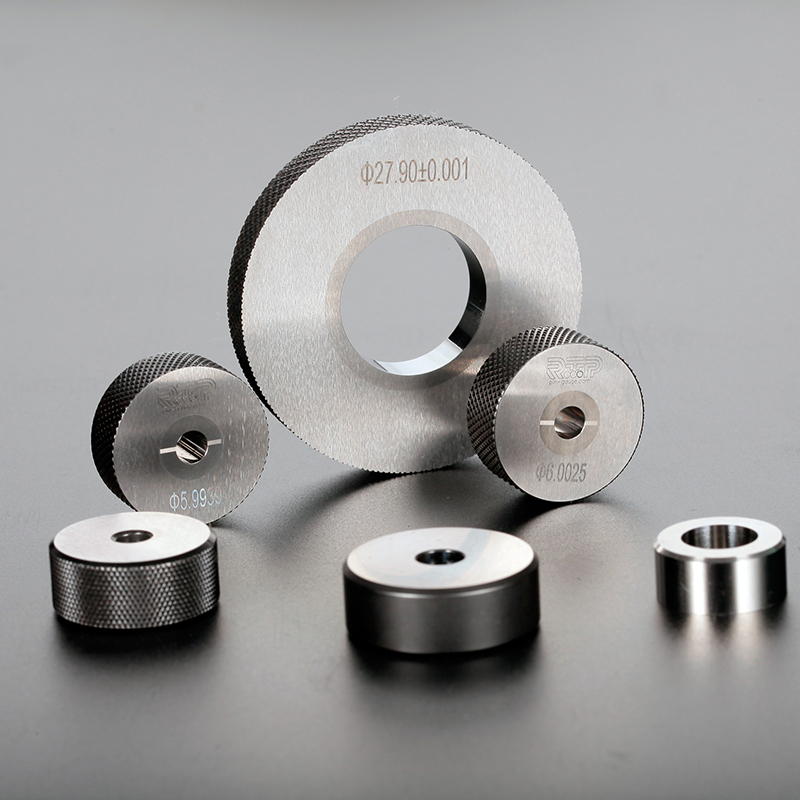
A ring gauge, also called a correction ring gauge, is a ring with specific dimensions and properties used to correct the insufficiency of a measuring tool.
Ring gauges are limit gauges for shafts, mainly used to measure shafts or other external dimensions with a tolerance level of 1T6 to 1T16. The ring gauge cannot inspect the parts and crankshafts machined on the positive center, and the scope of application is limited.
Ring gauges can be divided into: smooth ring gauges, also called halo gauges, threaded ring gauges, parallel thread gauges, etc.; according to different uses and manufacturing standards, they can be divided into: standard ring gauge, SK standard ring gauge, German standard Ring gauges, pipe ring gauges, etc. According to the different manufacturing materials, there can also be ceramic ring gauges and metal ring gauges.

Measurement uncertainty refers to the degree of uncertainty about the measurement results, which reflects the lack of understanding of the "true value" of the measurand. Due to the existence of measurement errors, coupled with the imperfect definition of the measurand and the imperfection of error correction, the measurement results of the measurand are uncertain. Measurement uncertainty is associated with the measurement result and is a parameter that characterizes the dispersion reasonably imparted to the measurand. Before a standard device is established, the measurement uncertainty of the device should be evaluated, and the measurement results are meaningful only when the uncertainty of the measurement results is known.
The measurement uncertainty is related to the measurement result, which reflects the dispersion of the measurement value. Use standard ring gauges and high-accuracy length measuring machines to establish a standard device for ring gauge verification. By analyzing the sources of measurement uncertainty of the ring gauge verification device, the measurement uncertainty of the ring gauge verification device is evaluated, and the results obtained by the analysis can meet the measurement uncertainty requirements of the second-class ring gauge in the ring gauge verification regulations.
Source of measurement uncertainty: The measurement result is one of the measurement elements, and other measurement elements, such as measurement objects, measurement resources, measurement environment, etc., will affect the measurement results during the measurement process. All factors that affect the measurement results are the source of measurement uncertainty. According to the analysis, the factors affecting the measurement uncertainty of the ring gauge mainly include the following aspects: ① the reading uncertainty of the length measuring machine; ② the measurement uncertainty introduced by the uncertainty of the reference standard (standard ring gauge) itself ; ③ Measurement uncertainty introduced by the linear expansion coefficient of the standard ring gauge; ④ Measurement uncertainty caused by the temperature of the measured ring gauge; ⑤ Measurement uncertainty caused by the temperature difference between the standard ring gauge and the measured ring gauge; The measurement uncertainty caused by the difference between the linear expansion coefficient of the ring gauge and the measured ring gauge; ⑦The measurement uncertainty caused by the deviation of the standard ring gauge detection position; ⑧The measurement uncertainty caused by the deviation of the tested ring gauge detection position
Previous: None.
Next: Custom Domes
Copyright:@2020-2021
Comments Please sign in or sign up to post.
0
0 of 500 characters used